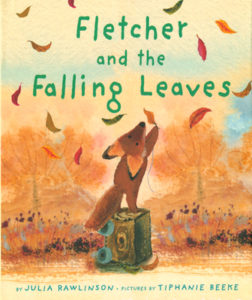
 Why I Picked It Up: In looking for a fun book about fall leaves to read in my science classroom (I LOVE the freedom and encouragement I receive to be transdisciplinary in my classroom!), several blogs I came across had listed this one in their “fall favorites” lists, and Amazon backed up the recommendation. The description sealed the deal. It talked about the innocence of an adorable little fox who was concerned about his tree losing leaves, and I could just imagine how disconcerting that might be for a young person experiencing fall for the first time!
Why I Finished It: One of the reviews featured on the back of the book, from School Library Journal, declares it a “synthesis of art and prose.” Rawlinson truly does have a way with words, and has painted a beautiful picture of a beautiful season that is backed up by the soft brush strokes and rich colors of Beeke’s artwork. Throughout the book, the writing is strong. Rawlinson describes Fletcher’s worries about his friend, the tree, my heart almost hurt for this little fox tenderly trying to take care of the tree’s leaves. His valiant struggles are comical and endearing all at the same time, and I truly wish I had a friend like Fletcher!
I also loved the journey of learning that Fletcher took through this book. Something happened that he didn’t understand, but he didn’t just acknowledge it and move on. Fletcher engaged with the problem. He tried different things and didn’t give up. It was uncomfortable and painful for him, at times, but he persisted because he cared. And in the end, Fletcher learned what was happening and the whole cycle of the seasons and interdependence of nature, and was rewarded by the beautiful transformation of his friend into an ice covered sculpture (did I mention the art by Tiphanie Beeke is breathtaking? particularly at the end!).
There are so many themes and teaching points in this book – I couldn’t NOT finish it!
Who I Would Give It To: Early elementary teachers should probably all have this book. No joke. Even if your students are already familiar with fall and the changing of leaves, the strong writing is a great mentor text!
Integration Ideas:
Visualization and Word Choice
Have students close their eyes and read the very first page aloud to them before showing them the picture. What do they see? What time of year is it? Contrast that with the description of the last page. What do they see there? What time of year is the last page? How do they know? What was different in the two descriptions? Then show the two pictures of the tree side by side.
Rawlinson has strong word choice throughout her writing. It would be a great opportunity to point out how changing key words can change what people see when they read. For example:
“Round and round and round whirled Fletcher after the swirling leaves.”
I can almost see the gusts of wind blowing and Fletcher caught up in the little tornadoes of leaves being whipped around! The two words “whirled” and “swirling” contribute to that picture. What if it had said “Round and round and round ran Fletcher after the leaves”? Not nearly as vivid! The book is full of teachable moments like that, just waiting for you to use them with your class!
Other Fall Books
Leaves by David Ezra Stein
In November by Cynthia Rylant
Science Connection
About halfway through the book, other animals start to come and take the leaves that have fallen from the tree. Fletcher is distressed by this because he is pretty sure they belong to the tree, however the squirrel is the first to point out that the tree doesn’t need them anymore. The porcupine says the same thing. This can be a conversation started about the ecosystem that the tree is a part of. The tree truly doesn’t need the leaves anymore, but other animals in the area do. They’re used for insulation for hibernating animals, nests for birds, eventually, the leaves decompose to become a part of the soil. It’s the “circle of life” (cue the music…) and it’s pretty fascinating to think about!
In the story, Fletcher only got a surface level answer to what was happening to his tree’s leaves. However, you can use the story to connect to the actual science behind it, which is pretty fascinating!
Science Experiment: Why do leaves change color?
You can visualize what is happening with the leaves by using color chromatography – separating a color into it’s base components.
If you want to do this with a class, and you have multiple class periods with them, you can start the experiment one day, and then observe the results the next. Otherwise, you might want to complete steps 1-6 the day before you need it for class so it is ready for your students to observe.
Supplies:
- rubbing alcohol
- jars (with lids)
- scissors
- spoon
- leaves of various colors
- coffee filters
- hot water
- shallow glass container
- Find leaves of various colors.This is tricky in Texas because the leaves tend to go straight from green to brown. Brown leaves are dead and don’t make this experiment very fun, so find the yellow, red, and orange leaves if you can! Ideally, you would have a small handful of leaves in each color. You also need a handful of green ones. If possible, for demonstration purposes, get leaves from the same tree that are different colors.
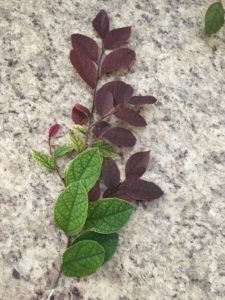
- Cut the leaves into very small pieces using the scissors, one color in each jar. You want to cover the bottom of the container with leaf pieces.
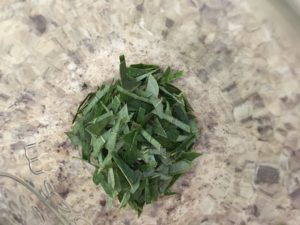
- Pour enough rubbing alcohol over the leaf pieces to cover them. It really doesn’t take much, and you don’t want too much or the color will be too diluted.
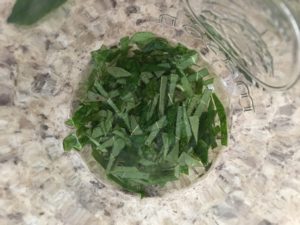
- Use the spoon to mash (or muddle) the leaves against the side of the jar. This helps release the color into the rubbing alcohol. The liquid should start to have a faint color.
- Put lids on the jars, pour some really hot (boiling is good) water into a shallow dish, and place the jars into the hot water.
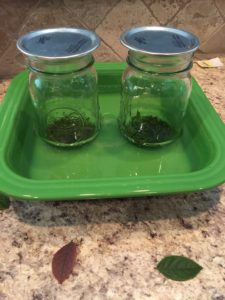 This helps draw the color out of the leaf pieces. Let them steep for about 30-60 minutes, changing out the water if it cools off. You should notice the liquid has a stronger color after this step. If not, change out the water, muddle the leaves with a spoon again, put the lid back on the jars, and let them steep a bit longer.
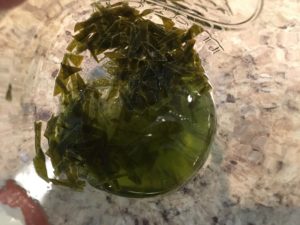
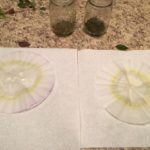
- Make the coffee filters as long as possible and put the tip into the liquid. It should start to absorb and work it’s way up the filter. Leave it in a place it will be undisturbed overnight – the longer the better.
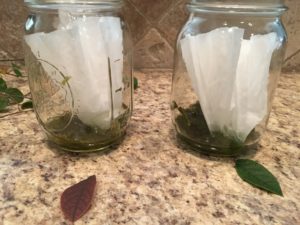
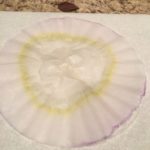
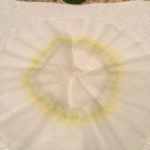
- When you come back, you should see the colors separated across the coffee filter!
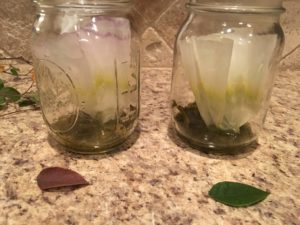
Both leaves Red leaves Green leaves
Why it Happens:
Leaves contain chlorophyll, a green pigment that they use to absorb light and complete the photosynthesis process which allows them to create the nutrients they and their tree need to live. There are other colored pigments stored in the leaves as well, but during the growing season, the green chlorophyll is dominant and the only color you see.
As the weather changes and gets cooler (notice I said cooler and not cold…Texas’s “fall” season can hardly be described as cold!) and the days get shorter, that is a signal to the leaves and the tree that winter is coming and to get ready for a hibernation of sorts. The leaves gradually stop producing the green chlorophyll, and so the dormant color pigments are visible! Yellow and orange pigments were there all along, but the red color is actually formed during the fall. If the leaves stop producing chlorophyll, they also stop completing photosynthesis and so, when they use up all the pigment and nutrients that were stored in the leaf, the leaf dies turns brown and dies.
For more info, these are two great videos that explain the process:
https://www.youtube.com/watch?v=UuTrDnzmMx
(This one might be good for younger kids)



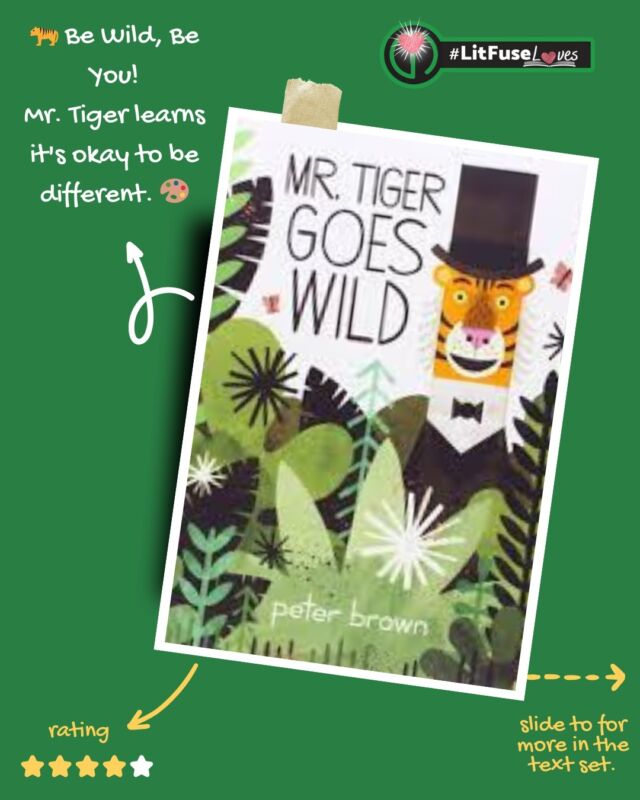
 Building Bridges: Creating a Text Set on Frie

 Hey, amazing educators!
 ![🌟 Hey, amazing educators! 🌟 Ready to kick off the school year with an engaging unit on rules and laws? 📚✨
We’ve picked some fantastic books to help your students understand why rules matter and how they shape our world. Check out these gems:
1️⃣ What If Everybody Did That? - Discover the hilarious and important reasons why rules matter.
2️⃣ Seven Rules You Absolutely Must Not Break If You Want to Survive the Cafeteria - Navigate the cafeteria with essential do's and don'ts.
3️⃣ A Bike Like Sergio's - Explore honesty and making the right choices.
4️⃣ Chairs on Strike - Learn about respecting classroom rules in a fun way.
5️⃣ Do Unto Otters: A Book About Manners - Embrace the Golden Rule with our otter friends.
🌟 Want more hands-on activities, vocabulary tips, and detailed descriptions of these books? Head over to our blog post for the full text set and loads of interactive teaching ideas! 🌟 [Link in bio]
💬 We’d love to hear your thoughts! Drop a comment below with your favorite book or share your own ideas on teaching rules and laws. Don’t forget to like and share this post with your fellow educators! Let’s make learning fun and meaningful together! 💖📖
#LiteracyAndLearning #RulesAndLaws #ElementaryEducation #BookRecommendations #ClassroomTips #EngagingLearning #StudentSuccess #TeacherResources](https://literaryfusions.com/wp-content/uploads/sb-instagram-feed-images/448980028_389914004085978_6215087207340322911_nfull.jpg)
 Exciting Book Review Alert!
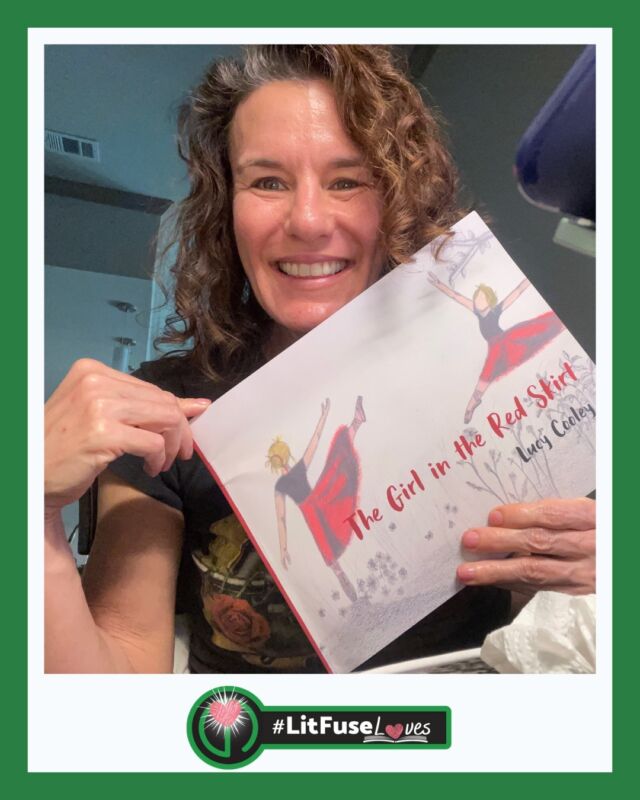
 ![📚 Exciting Book Review Alert! 📚
Hey there, book lovers and educators! 👋 We're thrilled to share a captivating book review that has us buzzing with inspiration. 🤩📖
📖 Book: "The Girl in the Red Skirt" by Lucy Cooley
📝 Review: [Link in Bio]
🌟 Rating: ⭐⭐⭐⭐⭐
In our pursuit of enhancing literacy and technology best practices in classrooms, we're always on the lookout for stories that ignite a love for reading and learning. "The Girl in the Red Skirt" is a must-read that masterfully combines the art of storytelling with an enchanting narrative.
📚 Review Highlights:
🔥 Gripping narrative that keeps you turning pages
🧠 Thought-provoking themes perfect for classroom discussions
💡 High level vocabulary
🙌 Empowering young minds through literacy
Swipe to catch a glimpse of the review or click the link in our bio to dive deeper into this literary gem. 📲💫
Educators, if you're looking for engaging material to inspire your students, this book is a fantastic addition to your reading list. 📚🍎
Let's transform the future of education together! 💡 If you're interested in our education consultancy services, feel free to reach out. We're here to help schools create enriching learning environments. 🏫👩🏫👨🏫
#LiteracyMatters #TechnologyInEducation #BookReview #EducationConsultants #ClassroomInnovation #TheGirlInTheRedSkirt #InspireLearning #ReadAndGrow #EducationForTheFuture](https://literaryfusions.com/wp-content/uploads/sb-instagram-feed-images/382394110_283049717946553_1109139895454642258_nfull.jpg)



Leave a Reply