 I am a firm believer that, when it comes to your toolbox of apps for the classroom, less is more. I’ll spare you the soapbox this time (you can read about it in this blog post if you are really interested!) and just tell you that this is one of the apps on my shortlist.
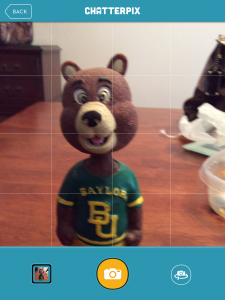
ChatterPix lets you upload or take a picture, add a mouth, and make it talk by recording your voice. This free app is very simple to use, and when the learning curve is minimal, students can produce a better product more efficiently. There are numerous accessorizing options (stickers!) that could lengthen the creation process, but even if you are short on time, this is a great way for students to quickly demonstrate their knowledge and generate a neat little video. There is no need to create an account, so this is great for students, and you can also download the file of your finished video, which makes it great for smashing with other apps.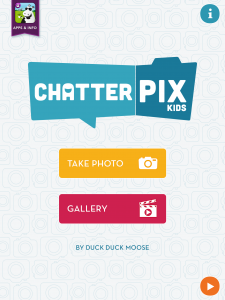
To begin, click Take Photo, and then decide if you want to take a picture or use one you already have.
Draw a mouth on the picture. It is important to go from left to right, otherwise the mouth will talk upside down. The mouth will show up as a white dotted line. If you don’t like where it is, just draw it again and it will re-place itself.
Record your voice for 30 seconds! When you’re done, you can preview it and rerecord if you want. (See Note below.)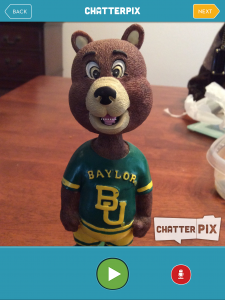
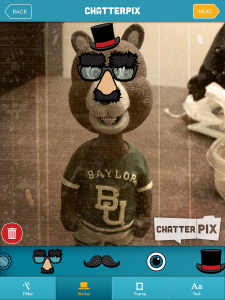
Add stickers, text, frames and apply filters (“just like instagram!” I heard one 5th grader exclaim in joy). This part could take a while, so if you’re just trying to get a quick check for understanding, you might put a limit on the number or stickers or just have them skip through this screen. On the other hand, when you’re first having your students explore, make sure you let them spend plenty of time on this screen. Once they’ve thoroughly explored it and put a mustache on their dog or a funny hat on their classmate, it will be easier to skip through it when you need them to.
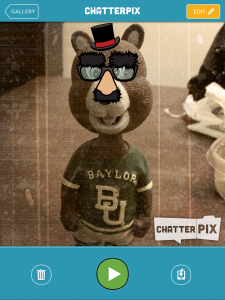
You can use the button on the bottom right of the last screen to download the video to your camera roll, to be imported into another app or sent to you via email.
Note:
The recording is limited to 30 seconds, which can seem like eternity to some kids, but might not be long enough for others. After working with 4th and 5th graders, I definitely recommend having them make notes about what they want to say. Even if you prompt them with a question to answer or sentence stems to complete, you might have them just jot a few key words on a notecard to save time and eliminate some of the “um” and “uh” pauses. For more polished projects, you can even have them write drafts of their speech to edit and practice. Also, let the kids know up front what kind of video you are expecting. If you just want a quick reflection, have them jot a few notes and then make sure they know that they only get one “take” to record, otherwise they’ll be re-recording for hours to get it just right!
Ideas for classroom use!
- Have students respond to a question as the character from a book
- Add a multimedia element to any biography – inventor, historical figure, scientist, mathematician…
- Use with Aurasma to overlay the video on top of any other image – map, essay, drawing…
- Choose an historical image and have students give an interpretation or analysis by making something in the picture talk
- Choose a picture of an animal and have students talk about how they fit into their food chain or ecosystem
- Have students take a photo of themselves, record what they learned and email the video to you for a quick exit ticket
- Mock interviews – choose a famous person and record their answers to questions and then ask the questions. Bonus: Download all the clips of the famous person “talking” and edit them, along with the video of the students asking the questions, into an iMovie!
- Have students create videos about themselves at the beginning of the year with objects of significance in their life doing the talking, and have other students guess which student created which video. Bonus: Use Aurasma or a QR code generator to attach these videos to posters around the room for parents to see during an open house.
- Take a picture of a student drawing and bring it to life
- Choose an inanimate object in any subject area (an addition sign, a water molecule) and have it state its purpose.
- Have students read a short poem or other text to practice fluency.
App: ChatterPix Kids by DuckDuckMoose
Cost: Free!
iTunes link: https://itunes.apple.com/us/app/chatterpix-kids-by-duck-duck/id734046126?mt=8



 Building Bridges: Creating a Text Set on Frie
 Hey, amazing educators!
 ![🌟 Hey, amazing educators! 🌟 Ready to kick off the school year with an engaging unit on rules and laws? 📚✨
We’ve picked some fantastic books to help your students understand why rules matter and how they shape our world. Check out these gems:
1️⃣ What If Everybody Did That? - Discover the hilarious and important reasons why rules matter.
2️⃣ Seven Rules You Absolutely Must Not Break If You Want to Survive the Cafeteria - Navigate the cafeteria with essential do's and don'ts.
3️⃣ A Bike Like Sergio's - Explore honesty and making the right choices.
4️⃣ Chairs on Strike - Learn about respecting classroom rules in a fun way.
5️⃣ Do Unto Otters: A Book About Manners - Embrace the Golden Rule with our otter friends.
🌟 Want more hands-on activities, vocabulary tips, and detailed descriptions of these books? Head over to our blog post for the full text set and loads of interactive teaching ideas! 🌟 [Link in bio]
💬 We’d love to hear your thoughts! Drop a comment below with your favorite book or share your own ideas on teaching rules and laws. Don’t forget to like and share this post with your fellow educators! Let’s make learning fun and meaningful together! 💖📖
#LiteracyAndLearning #RulesAndLaws #ElementaryEducation #BookRecommendations #ClassroomTips #EngagingLearning #StudentSuccess #TeacherResources](https://literaryfusions.com/wp-content/uploads/sb-instagram-feed-images/448980028_389914004085978_6215087207340322911_nfull.jpg)
 Exciting Book Review Alert!
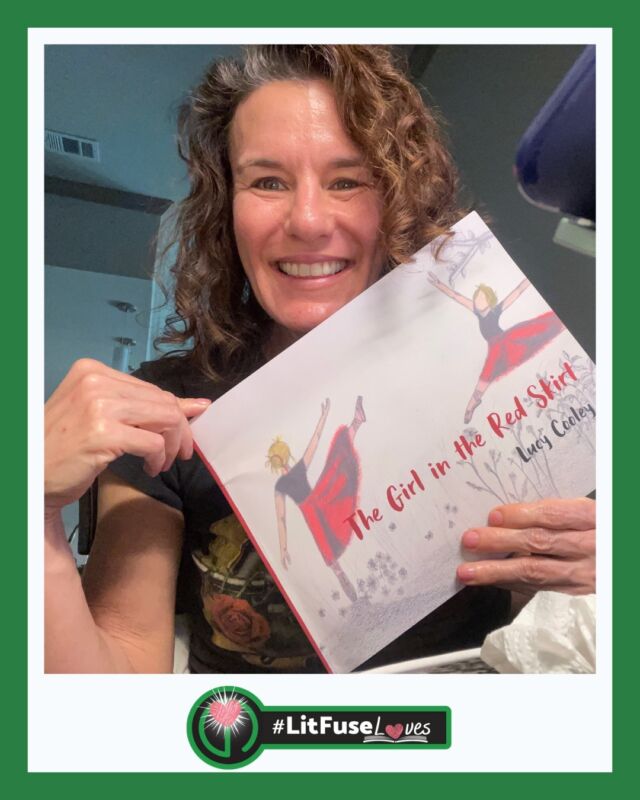
 ![📚 Exciting Book Review Alert! 📚
Hey there, book lovers and educators! 👋 We're thrilled to share a captivating book review that has us buzzing with inspiration. 🤩📖
📖 Book: "The Girl in the Red Skirt" by Lucy Cooley
📝 Review: [Link in Bio]
🌟 Rating: ⭐⭐⭐⭐⭐
In our pursuit of enhancing literacy and technology best practices in classrooms, we're always on the lookout for stories that ignite a love for reading and learning. "The Girl in the Red Skirt" is a must-read that masterfully combines the art of storytelling with an enchanting narrative.
📚 Review Highlights:
🔥 Gripping narrative that keeps you turning pages
🧠 Thought-provoking themes perfect for classroom discussions
💡 High level vocabulary
🙌 Empowering young minds through literacy
Swipe to catch a glimpse of the review or click the link in our bio to dive deeper into this literary gem. 📲💫
Educators, if you're looking for engaging material to inspire your students, this book is a fantastic addition to your reading list. 📚🍎
Let's transform the future of education together! 💡 If you're interested in our education consultancy services, feel free to reach out. We're here to help schools create enriching learning environments. 🏫👩🏫👨🏫
#LiteracyMatters #TechnologyInEducation #BookReview #EducationConsultants #ClassroomInnovation #TheGirlInTheRedSkirt #InspireLearning #ReadAndGrow #EducationForTheFuture](https://literaryfusions.com/wp-content/uploads/sb-instagram-feed-images/382394110_283049717946553_1109139895454642258_nfull.jpg)



This looks very usable for the classroom. I think I could incorporate it.
Love this app! We used it last year and smashed with Aurasma for the food chain in science. So fun!
How do you make a QR code from one of the videos?
Hey Kristin! Using Aurasma – now called HPReveal – (augmented reality) as opposed to a QR code might be the easiest way to “attach” it the video to a physical object. However, you could easily upload the video to YouTube or somewhere else online so it has a URL, and use that URL to create a QR code with something like https://www.qrstuff.com/. Hope that helps! If not, let us know!